This is it! Are you ready? With less than a week until Thanksgiving, our menus are pretty much planned by now. You don't need me telling you what to make, though I'm gonna link to the few seasonally appropriate pie recipes from this here blog, and a few from other blogs that look tasty, just in case.
Mostly, I thought it would be fun to talk pie -- your go-to dough, a comprehensive breakdown on dough 101, and filling types. There are many ways to make a pie and most result in deliciousness. I'm forever perfecting my skills and learn from these kinds of discussions. What I'm going to do here is go over a few areas I've struggled with, and the ways I've learned to fix them. I'll also list actual expert advice, because we all need that.
Up first, pie dough.
Over on Serious Eats, the superhero managing culinary director, J. Kenji Lopez-Alt, has a series called
The Food Lab, wherein he breaks down a recipe to the most minutest of details to give you the best possible version of that recipe. (He has an excellent pho tutorial, but I'll reserve that for another time.) He has a very comprehensive post about
pie dough, which is very apropos for the holiday season. He covers everything from the best type of fat to use, how to blend it into the flour, how much water is needed, and whether or not you need to add vodka. He advocates weighing the flour, which I've never done. I mentioned the other day on my Facebook page that I have yet start weighing ingredients, but it's something I need to begin doing if I want to improve my baking. Take a look at his post!
The fat. Do you use butter, shortening, or a combination of both? I do the latter, a la Julia Child. Occasionally, I will make the all-butter pastry dough, but I prefer a butter-shortening dough. It's easier to work and doesn't shrink back as much as an all-butter dough, and it gets super flaky. I follow a recipe I found a couple years ago from
How To Eat A Cupcake, only I use all all-purpose flour and removed the baking powder, as I found it caused the dough to puff out of shape.
On the King Arthur Flour blog, Flourish, there is a
detailed post about different types of crust, including the vodka crust. It explained to me why my butter crusts never maintained the perfect crimped edging after baking -- it's just going to expand and puff (and possibly shrink) more than a butter-shortening crust.
I have a dough exception. I came across a recipe on Chez Pim for
The One Pie Dough to Rule Them All, an all-butter dough using a rolling and folding technique. It also has a different manner of incorporating the butter into the flour compared to most recipes. The flour gets dumped onto the counter, the slabs of butter get tossed into the flour mound, and you work it in with a pastry scraper and the heel of your hand. A minimum amount of water is added to just bring the dough together. After that, the dough is folded and turned. This is similar to a fraisage, a technique used to create superior flakiness. At first, it might seem contrary to every piece of advice you've ever learned about pie dough for ABSOLUTELY NOT OVERWORKING THE DOUGH UNDER ANY CIRCUMSTANCE. I understand! But trust me and trust the recipe when we tell you that it's going to be fine. I would advise waiting to test this out for when it doesn't matter.
Banking on the fraisage techniqe, I have a tendency to add too much water to my dough to make life easier. I either add too much and it gets a little soggy, or I add too little and it's difficult to roll out. The middle ground is to give the dough a gentle fraisage to further incorporate the dough after adding just enough water to make it come together.
Filling.
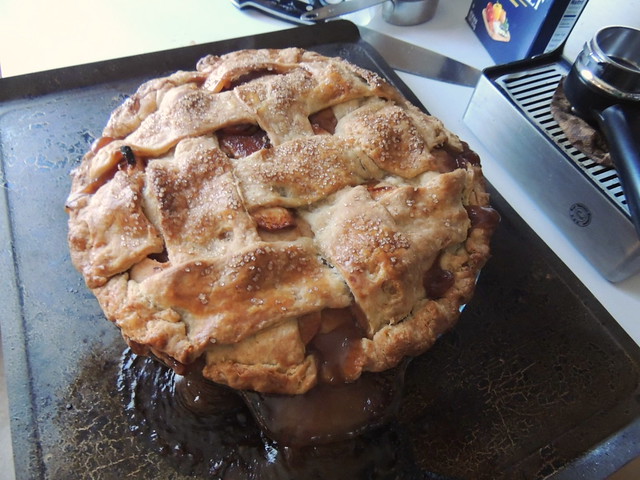
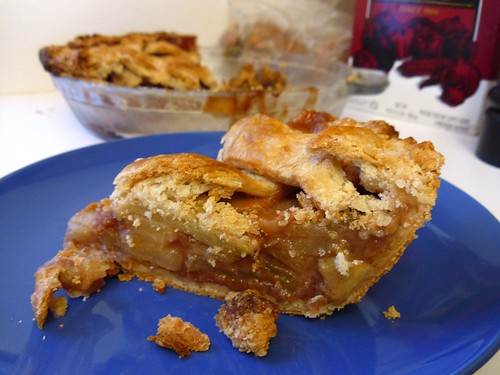
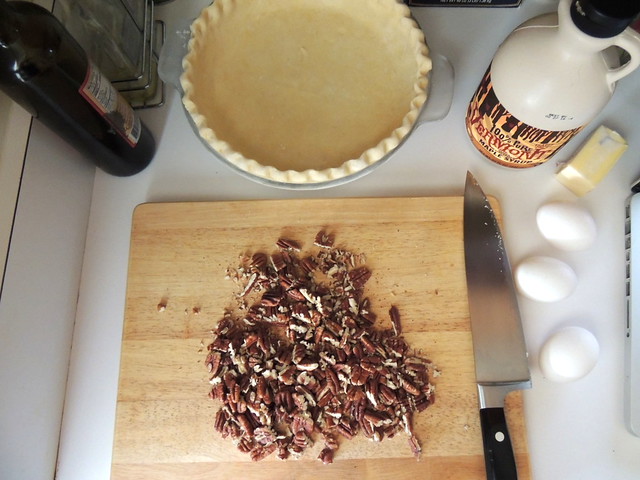
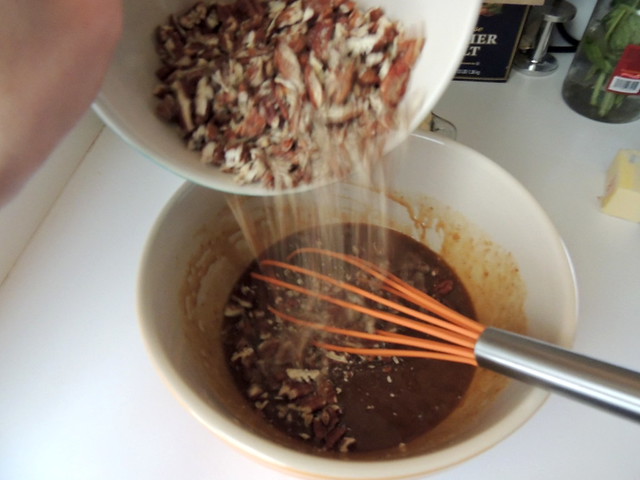
When it comes to Thanksgiving, I tend to stick apple pies and pecan pies. I enjoy a good pumpkin, but it's not my favorite. I've had good success with both pecan and pumpkin, though I've struggled with apple. The filling would never completely cook, despite slicing the apples thinly, or the crust would still be soggy after more than an hour in the oven. To top it off, the slices wouldn't retain their shape.
Then, I stumbled on the apple pie recipe from
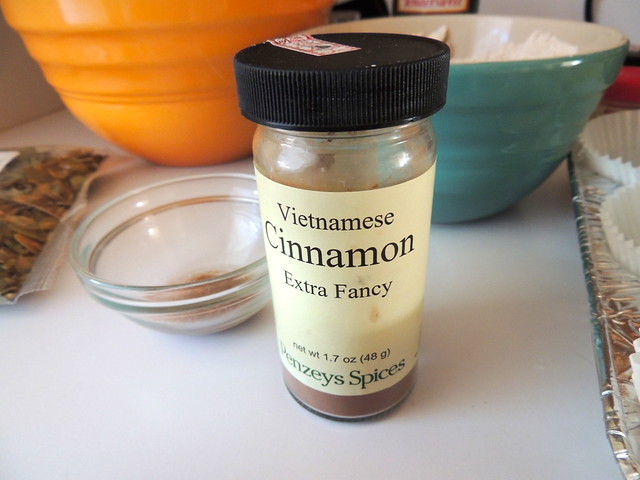
How To Eat A Cupcake. In that recipe, the filling is cooked for a few minutes prior to baking, practically revolutionizing my life. The apples come out perfectly each time and the filling stays in place without getting too gelatinous. I use 1/4 cup lemon juice and add more spices, increasing the cinnamon a little and playing around with the combination of ginger/allspice/nutmeg/cloves. This last time, I added a little cardamom and loved the results.
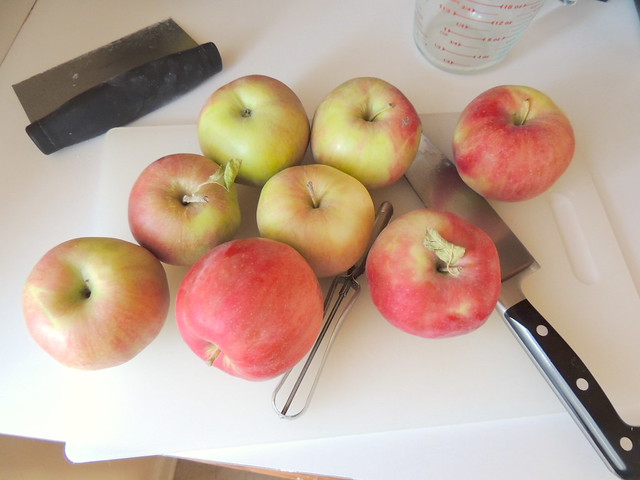
As for apple varieties? I stick to Granny Smith because that's what I like. It's tart, and works with the sweet and spicy filling. But like I mentioned when it comes to baking a pie, there are as many ways to fill a pie as there are apple varieties, and I'll take you back to J. Kenji Lopez-Alt for the
ultimate apple breakdown. (How lucky is he to be able to make pies all day? If you need an intern, I'm available!)
He also touches on the subject of
precooking the filling, explaining how it won't cause the apples to become mushy.
Enough talk. What pies will you be baking (or eating!) for Thanksgiving? What do you struggle with the most when it comes to baking a pie, and what are your successes? I want to hear it all!
Here are a few recipes.
-
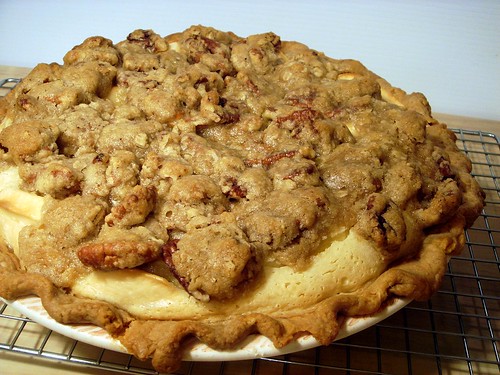
Apple Custard Crumb Pie
-
Apple Pie
-
Cheesecake Cherry Pie from Sugar Plum (I have not made this, but I trust her recipes and it looks delicious!)
-
Cherry Pie from America's Test Kitchen (I use frozen sweet cherries)
-
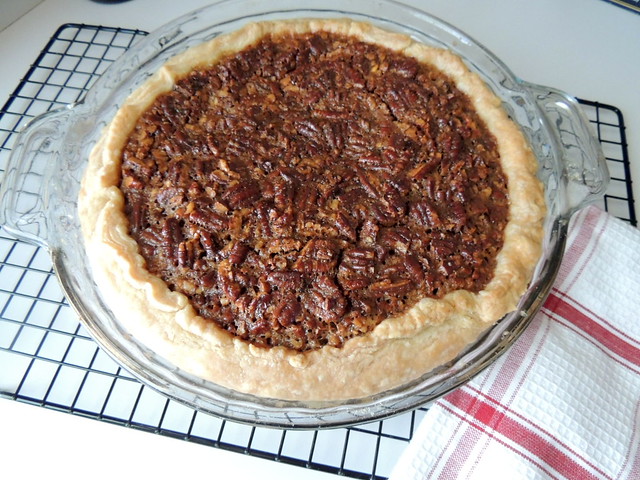
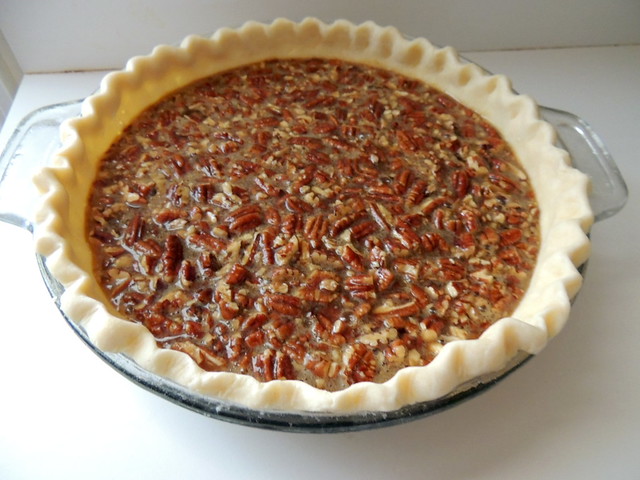
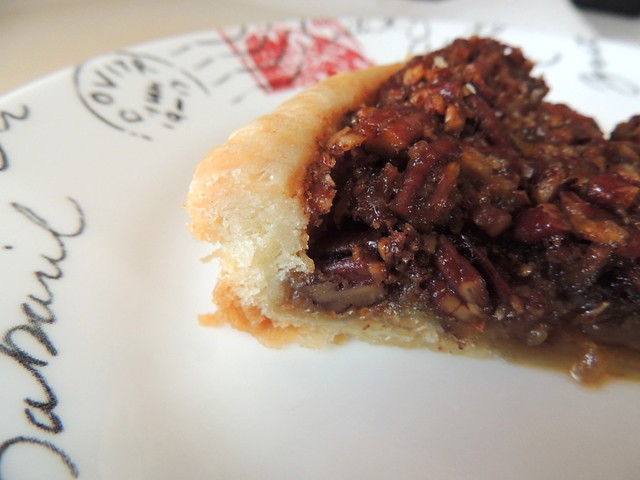
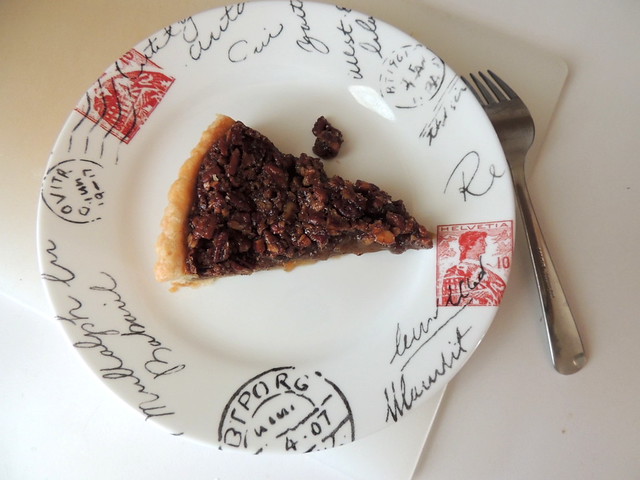
Maple Pecan Tart
-
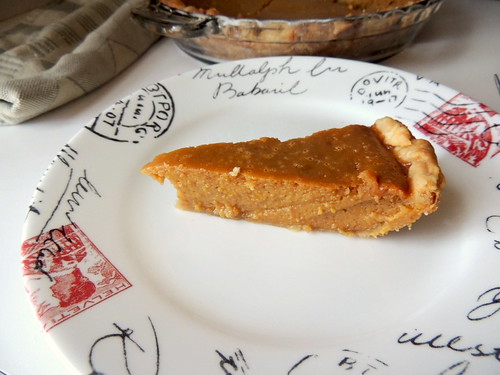
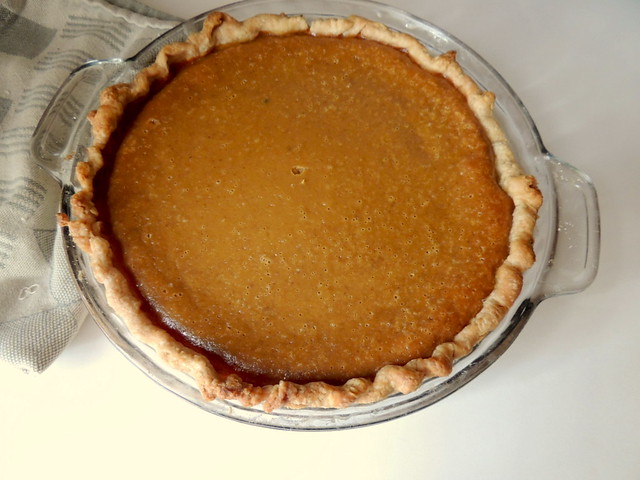
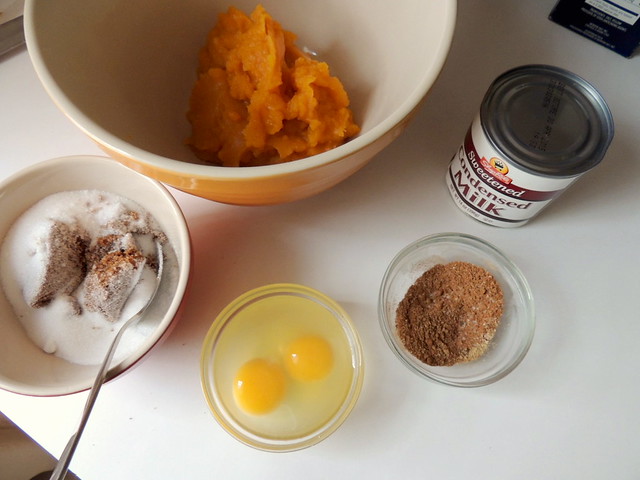
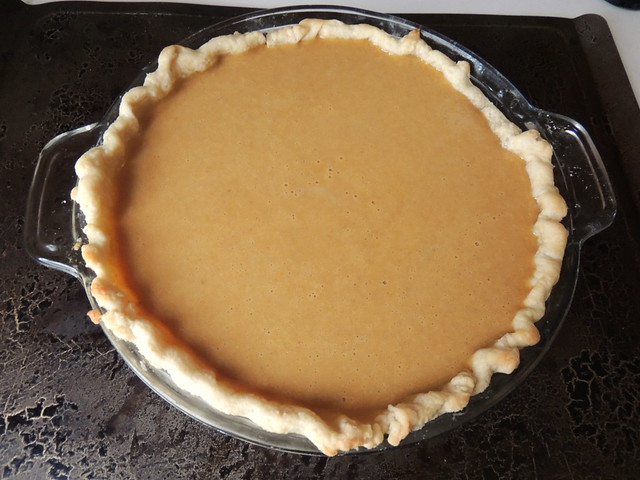
Tigger-Proof Pumpkin Pie