21 November 2014

pie talk.

This is it! Are you ready? With less than a week until Thanksgiving, our menus are pretty much planned by now. You don't need me telling you what to make, though I'm gonna link to the few seasonally appropriate pie recipes from this here blog, and a few from other blogs that look tasty, just in case.

Mostly, I thought it would be fun to talk pie -- your go-to dough, a comprehensive breakdown on dough 101, and filling types. There are many ways to make a pie and most result in deliciousness. I'm forever perfecting my skills and learn from these kinds of discussions. What I'm going to do here is go over a few areas I've struggled with, and the ways I've learned to fix them. I'll also list actual expert advice, because we all need that.

Up first, pie dough.

Over on Serious Eats, the superhero managing culinary director, J. Kenji Lopez-Alt, has a series called The Food Lab, wherein he breaks down a recipe to the most minutest of details to give you the best possible version of that recipe. (He has an excellent pho tutorial, but I'll reserve that for another time.) He has a very comprehensive post about pie dough, which is very apropos for the holiday season. He covers everything from the best type of fat to use, how to blend it into the flour, how much water is needed, and whether or not you need to add vodka. He advocates weighing the flour, which I've never done. I mentioned the other day on my Facebook page that I have yet start weighing ingredients, but it's something I need to begin doing if I want to improve my baking. Take a look at his post!

The fat. Do you use butter, shortening, or a combination of both? I do the latter, a la Julia Child. Occasionally, I will make the all-butter pastry dough, but I prefer a butter-shortening dough. It's easier to work and doesn't shrink back as much as an all-butter dough, and it gets super flaky. I follow a recipe I found a couple years ago from How To Eat A Cupcake, only I use all all-purpose flour and removed the baking powder, as I found it caused the dough to puff out of shape.

On the King Arthur Flour blog, Flourish, there is a detailed post about different types of crust, including the vodka crust. It explained to me why my butter crusts never maintained the perfect crimped edging after baking -- it's just going to expand and puff (and possibly shrink) more than a butter-shortening crust.

I have a dough exception. I came across a recipe on Chez Pim for The One Pie Dough to Rule Them All, an all-butter dough using a rolling and folding technique. It also has a different manner of incorporating the butter into the flour compared to most recipes. The flour gets dumped onto the counter, the slabs of butter get tossed into the flour mound, and you work it in with a pastry scraper and the heel of your hand. A minimum amount of water is added to just bring the dough together. After that, the dough is folded and turned. This is similar to a fraisage, a technique used to create superior flakiness. At first, it might seem contrary to every piece of advice you've ever learned about pie dough for ABSOLUTELY NOT OVERWORKING THE DOUGH UNDER ANY CIRCUMSTANCE. I understand! But trust me and trust the recipe when we tell you that it's going to be fine. I would advise waiting to test this out for when it doesn't matter.

Banking on the fraisage techniqe, I have a tendency to add too much water to my dough to make life easier. I either add too much and it gets a little soggy, or I add too little and it's difficult to roll out. The middle ground is to give the dough a gentle fraisage to further incorporate the dough after adding just enough water to make it come together.

Filling.
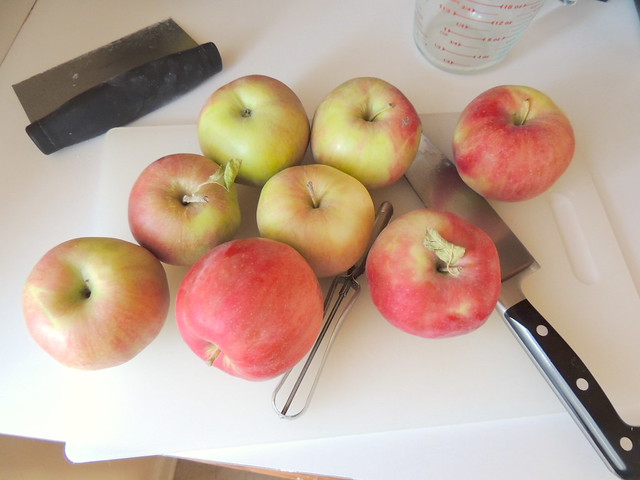
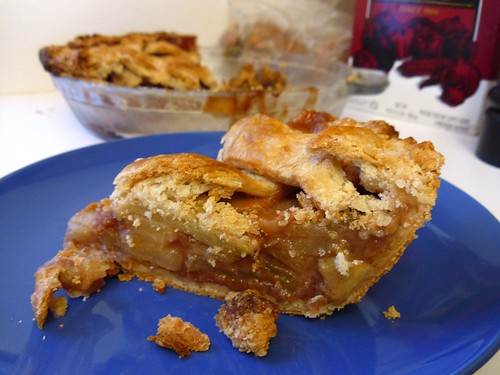
When it comes to Thanksgiving, I tend to stick apple pies and pecan pies. I enjoy a good pumpkin, but it's not my favorite. I've had good success with both pecan and pumpkin, though I've struggled with apple. The filling would never completely cook, despite slicing the apples thinly, or the crust would still be soggy after more than an hour in the oven. To top it off, the slices wouldn't retain their shape.

Then, I stumbled on the apple pie recipe from How To Eat A Cupcake. In that recipe, the filling is cooked for a few minutes prior to baking, practically revolutionizing my life. The apples come out perfectly each time and the filling stays in place without getting too gelatinous. I use 1/4 cup lemon juice and add more spices, increasing the cinnamon a little and playing around with the combination of ginger/allspice/nutmeg/cloves. This last time, I added a little cardamom and loved the results.

As for apple varieties? I stick to Granny Smith because that's what I like. It's tart, and works with the sweet and spicy filling. But like I mentioned when it comes to baking a pie, there are as many ways to fill a pie as there are apple varieties, and I'll take you back to J. Kenji Lopez-Alt for the ultimate apple breakdown. (How lucky is he to be able to make pies all day? If you need an intern, I'm available!)

He also touches on the subject of precooking the filling, explaining how it won't cause the apples to become mushy.

Enough talk. What pies will you be baking (or eating!) for Thanksgiving? What do you struggle with the most when it comes to baking a pie, and what are your successes? I want to hear it all!

Here are a few recipes.
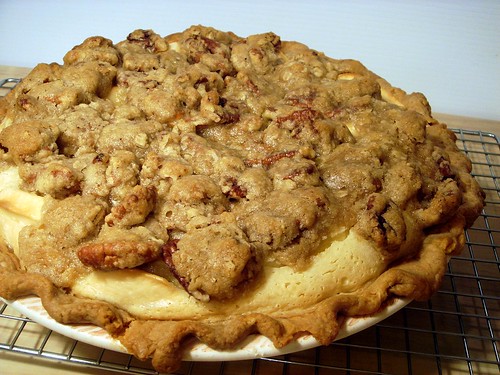
- Apple Custard Crumb Pie

- Apple Pie

- Cheesecake Cherry Pie from Sugar Plum (I have not made this, but I trust her recipes and it looks delicious!)

- Cherry Pie from America's Test Kitchen (I use frozen sweet cherries)
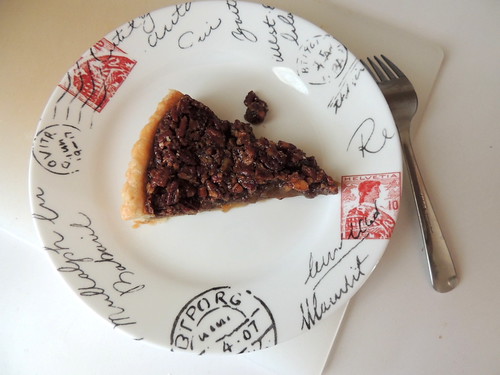
- Maple Pecan Tart

- Tigger-Proof Pumpkin Pie


SHARE:

03 November 2014

Pumpkin Pie

Pumpkin Pie
The wind is howling and leaves are swirling through the air. It is definitely autumn here in New Jersey, and not a moment too soon. For whatever reason, I feel very comfortable in weather like this, even when I'm not outside in it. Now that things like sugar pumpkins, apples, and cider are in season, I've been trying to get as much out of it as I can. This weekend, Alex and I took a short trip up to New Paltz to pick up a half bushel of Ida Red apples, apple cider, and cider doughnuts from Jenkins-Lueken Orchards, and some New York maple syrup from Oliverea Schoolhouse Maple at the farmer's market! We drove up to an outlook to take in the view before we left.

Pumpkin Pie
We'll be busy working our way through all that the next few weeks!

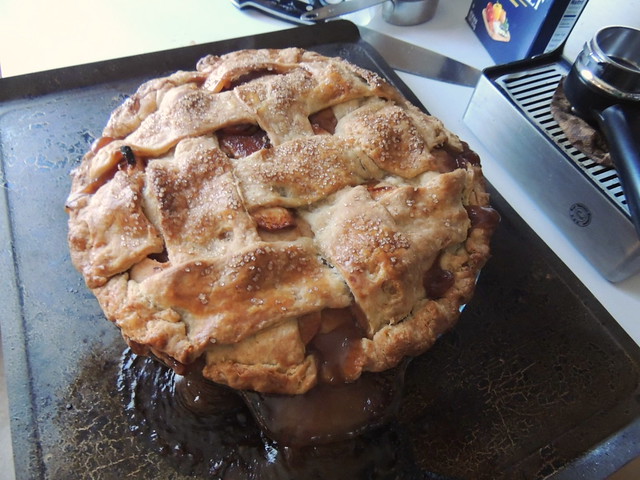
I also made a pumpkin pie this weekend, as you can see. I've made and blogged about this recipe before, though those pictures never did justice to the Tigger-Proof Pumpkin Pie. I have been meaning to update it for a while, because it's a pie you all really need to make. Typically, I use canned pumpkin. This time, I roasted a sugar pumpkin and pureed the pulp (not a difficult feat at all). Boy, I'll tell you, it tastes even better than I remembered, and it's all because of the fresh pumpkin puree. I don't mind using canned at all for things like muffins and breads, but when it's in a dessert where the filling is in the forefront, taking a little extra time to prep your own puree takes it to a whole other level. I ended up with extra puree that I'll likely use for muffins, if I can't think of a better pumpkin dessert. (There is a pumpkin yeast bread from Baking with Julia I've been eying for a while now.)

Pro tip: After pureeing pumpkin, place in a fine mesh sieve to allow the excess liquid to drain.

Pumpkin Pie
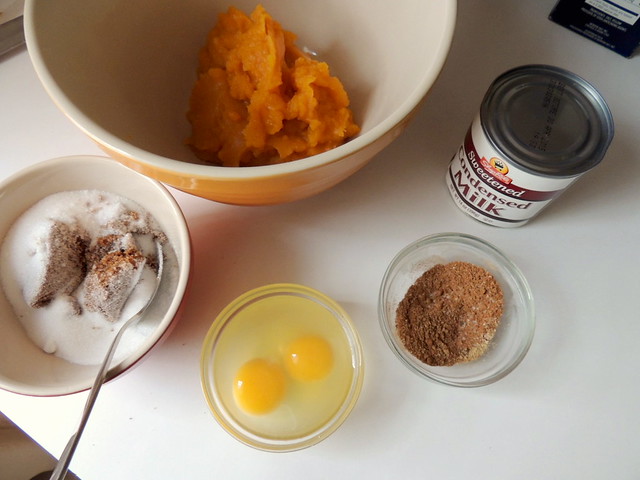
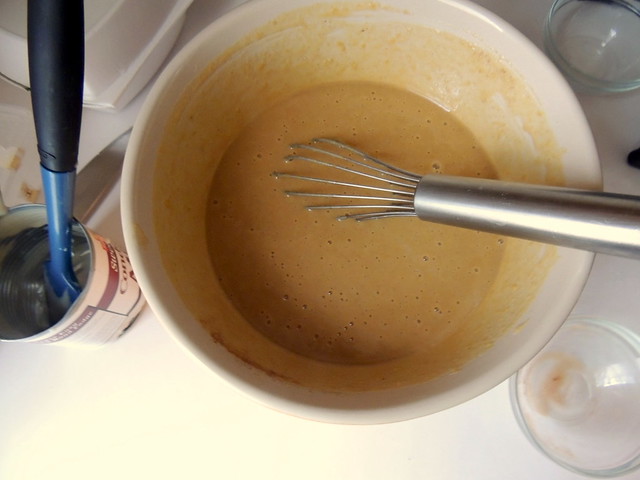
The ingredients for this pie consist of the pumpkin puree (fresh or canned), spices (a blend of cinnamon, ginger, nutmeg, and cloves), eggs, and three types of sugar: sweetened condensed milk, brown sugar, and white sugar. Anyone who knows anything about the 100 Acre Woods knows that condensed milk is one of the main food groups, second only to honey. Not shown is the blind-baked pie crust.

Pumpkin Pie
Whisk filling together.

Pumpkin Pie
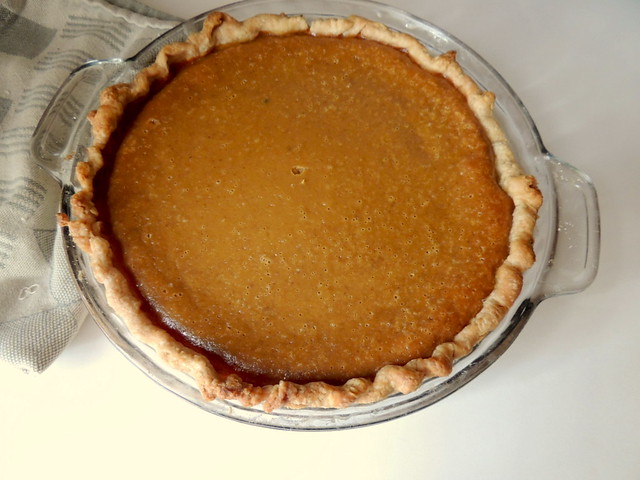
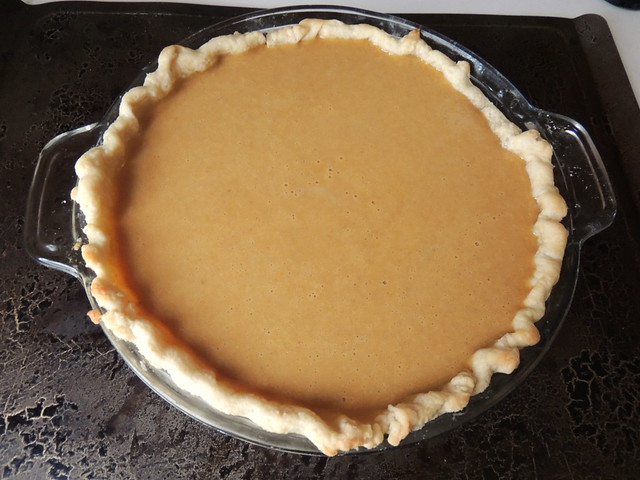
Pour into prepared pie crust and bake.

Pumpkin Pie
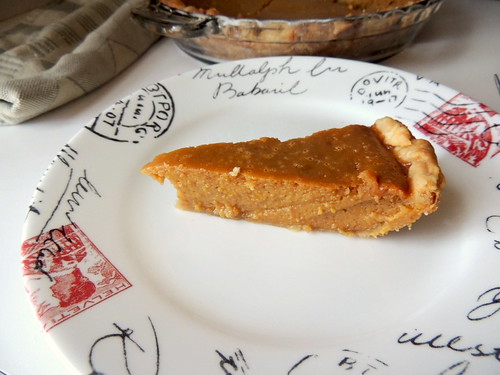
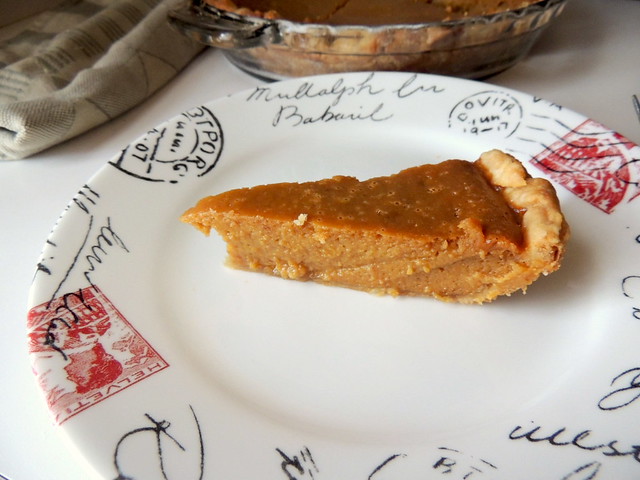
What you see here is a mighty fine piece of pumpkin pie. The filling is smooth and custardy, the crust is perfectly browned on the bottom, and now I get to enjoy some pie for the next couple of days while listening to the howling wind outside.


Print this recipe

Tigger-Proof Pumpkin Pie
From The Little Big Book of Pooh by Monique Peterson
(Personal notes: I used a different dough recipe that is actually quite similar to this recipe - chill before rolling, chill before baking - and I opted to pre-bake the crust for 15 minutes)

For crust -

1 1/3 cup flour
1 tablespoon granulated sugar
1/2 stick (1/4 cup) butter
1/4 cup vegetable shortening
2 tablespoons ice water

For pie -

1 1/2 cups cooked or canned pumpkin
1/4 cup brown sugar
1/2 cup granulated sugar
1 1/2 cups condensed milk
1/4 teaspoon coarse salt
1 teaspoon cinnamon
1 teaspoon ground ginger
1/4 teaspoon ground nutmeg
1/4 teaspoon ground cloves
2 eggs

Directions -
  1. Preheat oven to 425°F.
  2. To make crust, sift together dry ingredients. Using pastry blender or processor, cut in shortening and butter until mixture resembles coarse meal. Sprinkle water over dough and mix with fork until pastry is moist enough to form into a ball.
  3. Roll out dough on a lightly floured surface into a 14" round circle. Transfer and press into 9" pie pan. Trim overhand and crimp edges. Chill in freezer for 15 minutes.
  4. To make the pumpkin filling, whisk all the pie ingredients together in a large bowl until blended. Pour into the prepared crust.
  5. Bake for 10 minutes, then lower oven temperature to 350°F and bake for an additional 40-50 minutes, or until knife inserted in center comes out clean.
  6. Serve with whipped cream!
SHARE:

16 October 2014

Pumpkin Muffins

Pumpkin Muffins
Hey, so it's now autumn! Except some days, I don't believe it, especially yesterday, when it was still fairly hot out. Is this Indian summer? Whatever it is, it hasn't stopped me from making dinner soups like they're going out of season, or sipping on hot tea after dinner. I've also busted out the pumpkin puree so that I can share with you my favorite pumpkin muffin recipe.

I found this particular recipe from Muffin Top, who got it from Gourmet magazine. Do you remember that magazine? It was great and I'm still sad it's gone. The bright orange color of the muffins lured me in and I wasn't disappointed. This recipe is super simple and makes tall, moist muffins, not those squatty little pucks that drive me crazy. Best of all, you use the entire can of pumpkin puree so you don't have to store 1/4 cup of puree, only to have it rot in the depths of the fridge before you remember that it's there.

Pumpkin Muffins
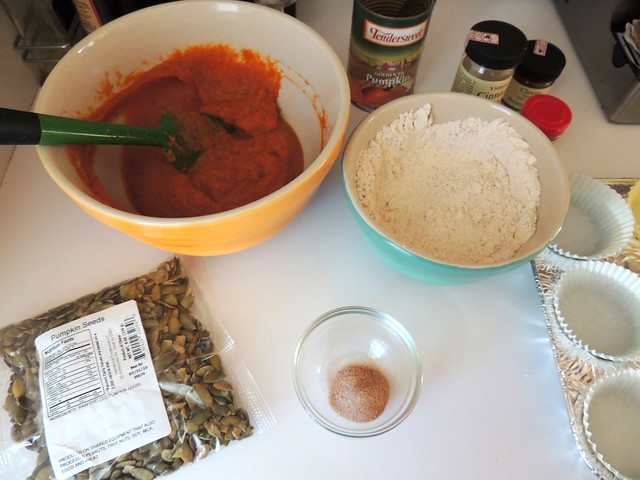
The recipe's direction for mixing the batter is a bit weird, so I simplified it by mixing the dry (flour, spices, leavening, salt) and wet (pumpkin, eggs, oil, sugar, vanilla extract) ingredients separately. I also use my own combination of spices instead of a generic pumpkin pie blend. I like that I can decide to use more cinnamon one day, then turn around and make the next batch more gingery. In total, I use two-three teaspoons, not just one. One teaspoon isn't enough. And with a teaspoon of vanilla extract for added depth. You can leave the sugar as is, or you can decrease to 3/4 cup like I did this last batch. The recipe is included in this post to make the modifications clearer.

Pumpkin Muffins
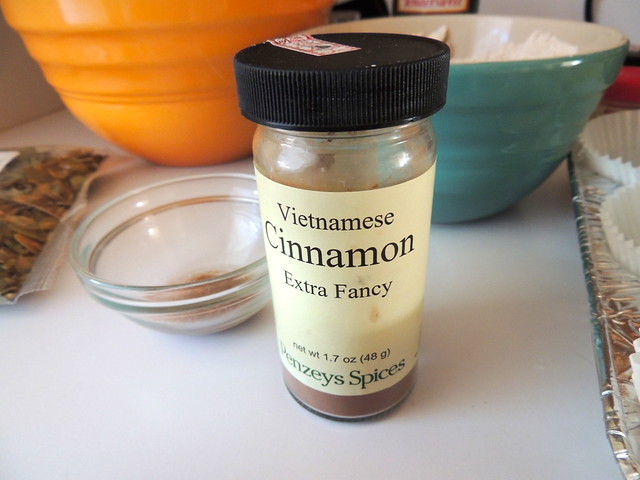
Dear readers, I can't go another post without addressing this Extra Fancy (ooh la la) Vietnamese cinnamon from Penzey's spices. I was first introduced to it by a friend, Bob, who sent me a Penzey's spice gift box. This cinnamon is very spicy and strong; Penzey's recommends reducing the cinnamon in a recipe by a third if using this kind. I like to think that it justifies the price that way, though if you love cinnamon, go all out!

Pumpkin Muffins
Pumpkin Muffins
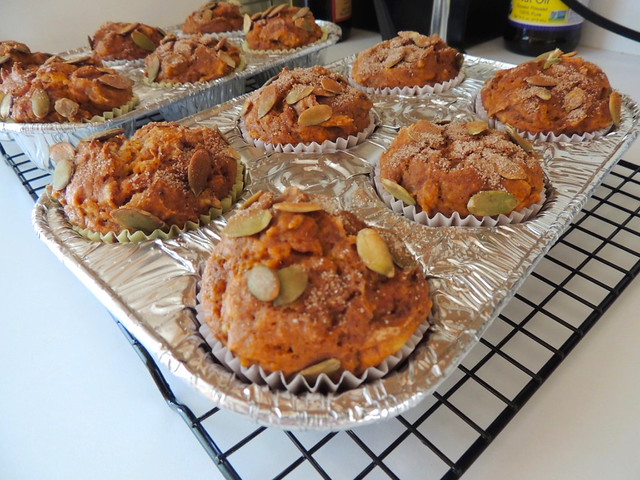
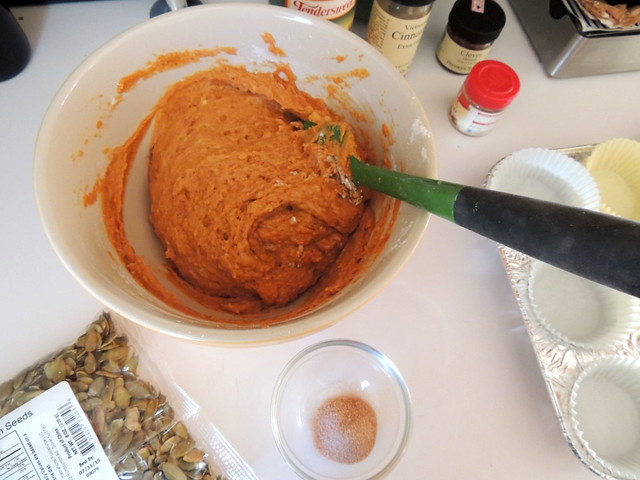
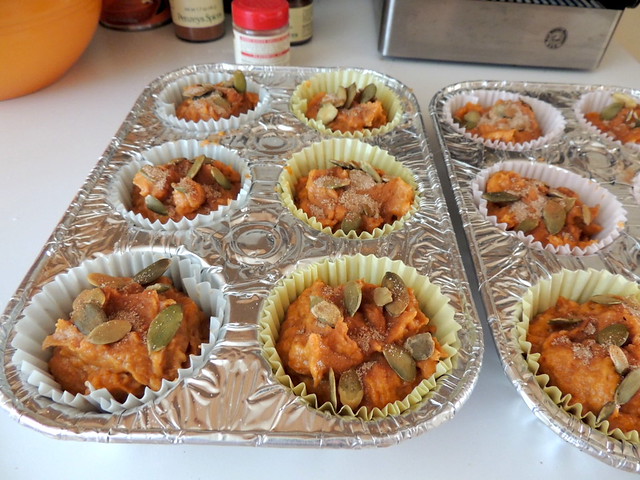
Next, fold the dry ingredients into the wet, then divide evenly into twelve muffin cups. Exactly twelve muffin cups. You can fill the cups up just about all the way without causing a disaster, I promise. Sprinkle the tops with cinnamon sugar (and add pumpkin seeds, if you wish), then bake.

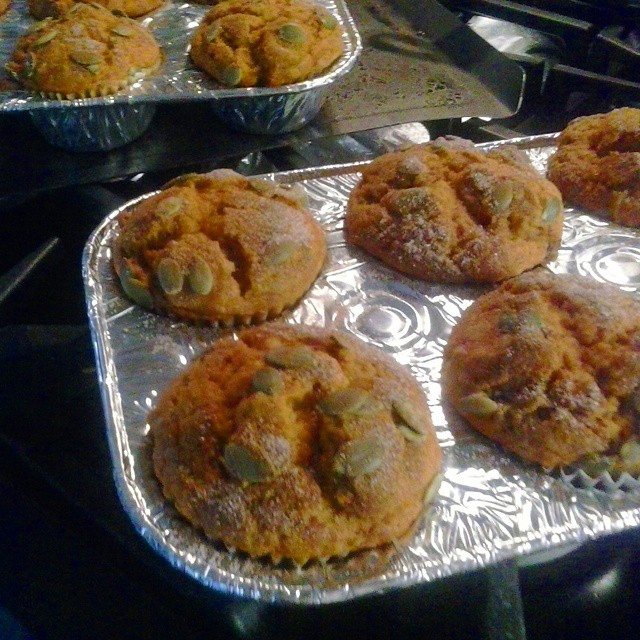
Now, I have a secret to share with you. These pictures, while mostly accurate, are a lie -- I forgot to add the oil. Although I noticed that there wasn't quite as much batter as there normally is, I didn't realize my mistake until after I had stuck the trays into the oven (I blame Gilmore Girls). I expected a disaster, and wasn't disappointed. While still edible, this batch just isn't as soft and tender as it normally is. The tops are more craggy than usual and the crumb suffers. I would absolutely not recommend skipping the oil. Please.

Pumpkin Muffins
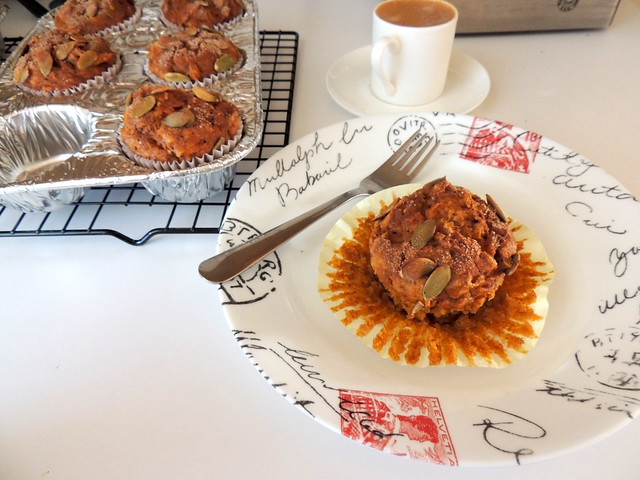
Here is what the muffins should actually look like if made properly. I promise, I know what I'm doing, most of the time.

Pumpkin Muffins
Despite the error, the flavor was still there. Not bad for a mostly fat-free baked good! (I can't believe I said that.) I hope you enjoy these as much as I have!


Print this recipe
Pumpkin Muffins
The Running Foodie version, adapted from Gourmet November 2006, adapted from the American Club

Makes 1 dozen

Ingredients -

1 1/2 cups all-purpose flour
1 tsp baking powder
1/2 tsp baking soda
1/2 tsp salt
2-3 teaspoons spices, using any of the following: cinnamon, ginger, allspice, cloves, fresh nutmeg
1 15-ounce canned solid-pack pumpkin
1/3 cup vegetable oil
2 large eggs
1 teaspoon vanilla extract
3/4 - 1 1/4 cup granulated sugar, plus an additional 1 tablespoon granulate sugar
1 teaspoon cinnamon
Additional: Pumpkin seeds

Directions -
  1. Put oven rack in middle position and preheat oven toe 350°. Put paper or foil liners into 12 muffin cups.
  2. Whisk together flour, baking powder, baking soda, salt, and 2-3 teaspoons spices in a small bowl. Stir together cinnamon and 1 tablespoon sugar in a tiny bowl and set aside.
  3. Whisk together pumpkin, oil, eggs, vanilla extract, and 3/4 - 1 1/4 cups sugar in a large bowl until smooth, then whisk in flour mixture until just combined.
  4. Divide batter among muffin cups, then sprinkle tops with cinnamon-sugar mixture (if using pumpkin seeds, top with seeds first before sprinkling tops with cinnamon-sugar). Bake until puffed and golden brown and a wooden pick or skewer inserted into center of a muffin comes out clean, 25 to 30 minutes.
  5. Cool in pan on a rack 5 minutes, then transfer muffins from pan to rack and cool to warm or room temperature.

SHARE:
Blogger Template Created by pipdig